
How to Make an AI Documentary Video: A Practical Workflow
Plan, storyboard, generate, edit, and render an AI documentary without losing control of the argument, evidence, or visual continuity.
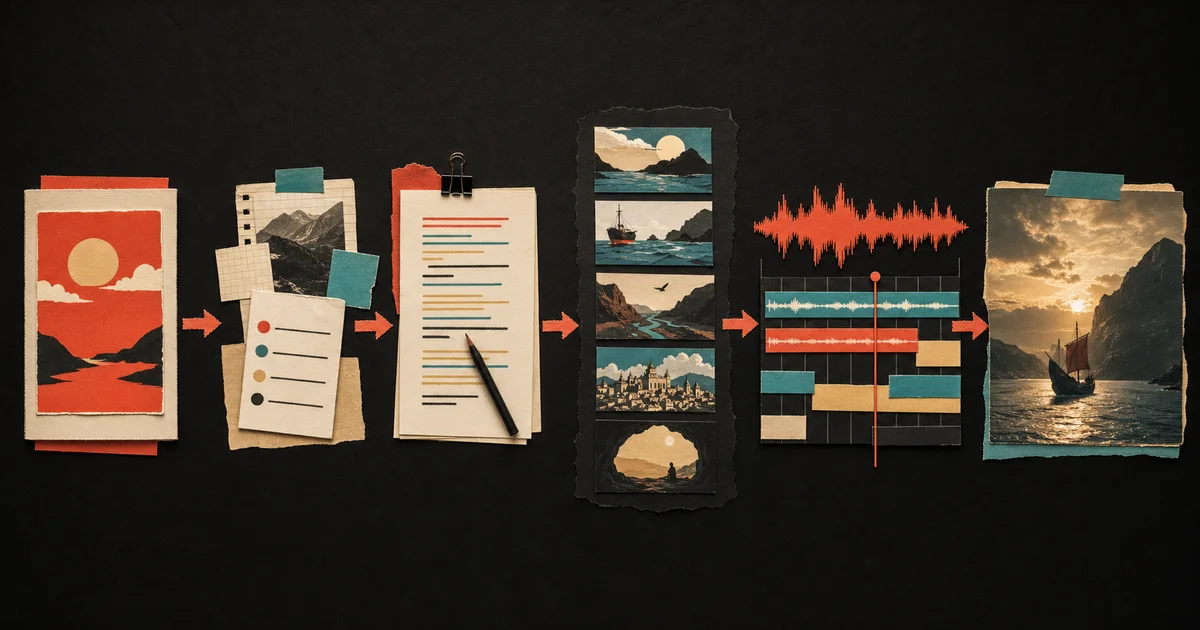
To make an AI documentary video, begin with a narrow question, shape a sourced argument, turn the script into purposeful scenes, review the production plan, generate media only after the structure works, then edit, caption, and render. The strongest workflow treats AI as a production assistant while you remain the editor and fact-checker.
That distinction matters. A documentary is not a long voiceover placed over unrelated footage. It makes a case, reveals a story, or explains a system. Its narration, evidence, images, maps, data, pacing, and music must support the same idea.
This guide covers the full process from an empty topic field to a final video. You can follow it with separate writing, image, voice, and editing tools. You can also use a scene-based documentary video maker such as Veedyoo to keep the plan, generated assets, narration, timeline, captions, and render connected.
Before you start: choose the right scope
“The history of space travel” is a category, not a documentary premise. “Why Voyager 1 still matters after leaving the planets behind” gives you a subject, a point of view, and a natural ending.
Write one sentence that answers three questions:
- What is this about? Name the person, event, technology, place, or mystery.
- What will the viewer understand? State the central explanation or discovery.
- Why should they care now? Identify the tension, consequence, or unanswered question.
This documentary explains [subject] by showing [change, conflict, or mechanism], so the viewer understands [meaning or consequence].
Keep the first project manageable. A focused four-minute story with a clear ending is better practice than a twenty-minute survey that repeats itself. Duration affects the amount of research, narration, media, review, and rendering you must manage. If budget is part of the decision, read the AI documentary cost guide before choosing a length.
Choose a production path
The right workflow depends on the evidence you have and the visual language the story needs. Decide this before generating anything.
| Story type | Primary visuals | Main review risk | Good starting format |
|---|---|---|---|
| Historical event | Archives, documents, maps, dates | Wrong attribution or chronology | Chaptered timeline |
| Science or technology | Diagrams, data, demonstrations, generated illustrations | Oversimplifying the mechanism | Question, explanation, consequence |
| Mystery or investigation | Evidence cards, locations, competing theories | Presenting speculation as fact | Known facts, gaps, interpretations |
| Business case study | Products, charts, headlines, market context | Unsupported causal claims | Setup, turning point, result |
You do not need to lock every shot at this stage. You do need to know whether the film depends on verifiable source material, explanatory graphics, atmospheric illustration, or a mix. That choice will shape the research notes and scene plan.
Step 1: build a source packet
Collect the evidence before asking AI to write a confident script. Your packet can include primary documents, official datasets, research papers, reputable reporting, licensed archives, interview notes, and the URLs or citations needed to find them again.
For each source, record:
- the claim it supports;
- the exact date, number, quote, or event you plan to use;
- any limitation or disagreement;
- the visual evidence available;
- the rights or license status of media you may publish.
Separate facts from creative direction. “The probe launched in 1977” is a checkable claim. “Open with a lonely signal crossing deep space” is a storytelling choice. Keeping those notes separate makes later review much faster.
AI can help organize notes, suggest questions, or expose gaps. It should not become the source of record. If a generated sentence introduces a new statistic, date, attribution, or quotation, verify it against the material you trust before it enters the voiceover.
Step 2: outline the argument in chapters
Give every chapter one job. A reliable short-documentary structure is:
- Hook: show the question, surprise, or consequence without explaining everything.
- Context: provide only the background needed to understand the conflict.
- Development: reveal how the event, system, or investigation unfolded.
- Turning point: show the decision, discovery, failure, or change that reshaped the story.
- Meaning: explain what the evidence adds up to and why it matters.
Write a one-sentence promise for each chapter. If two chapters make the same promise, combine them. If a chapter has no evidence, either research it or remove it.
The hook should create curiosity without making a promise the film cannot keep. Avoid invented urgency and false certainty. A real contradiction is often enough to open the story.
Step 3: write for listening, not reading
Documentary narration should be easy to follow once, at normal speed. Use concrete nouns, short sentences, and clear transitions. Introduce one unfamiliar idea at a time. Read the draft aloud and mark every sentence that makes you backtrack.
As you draft:
- name the subject early instead of hiding it behind pronouns;
- explain technical terms before relying on them;
- place important numbers in context;
- distinguish confirmed facts from interpretations;
- remove sentences that only repeat the visual;
- leave room for pauses, music, and on-screen reading.
Step 4: turn the script into scene jobs
Now divide the narration into scenes. Each scene needs more than an image prompt. It needs a production purpose.
For every scene, define:
- Narration: the exact lines heard during the scene.
- Job: what changes in the viewer’s understanding.
- Visual treatment: archive, generated image, map, timeline, diagram, data, title, or mixed composition.
- Duration: enough time to inspect the visual without stretching it.
- Continuity notes: colors, locations, characters, labels, camera behavior, and details that must remain consistent.
- Evidence note: the source supporting factual text or on-screen data.
This is the point where a written essay becomes a film. The script-to-storyboard guide goes deeper into scene purpose, timing, and continuity.
Step 5: review the production plan before generating media
Generation is where production costs and review time start to rise. Stop and inspect the whole plan first.
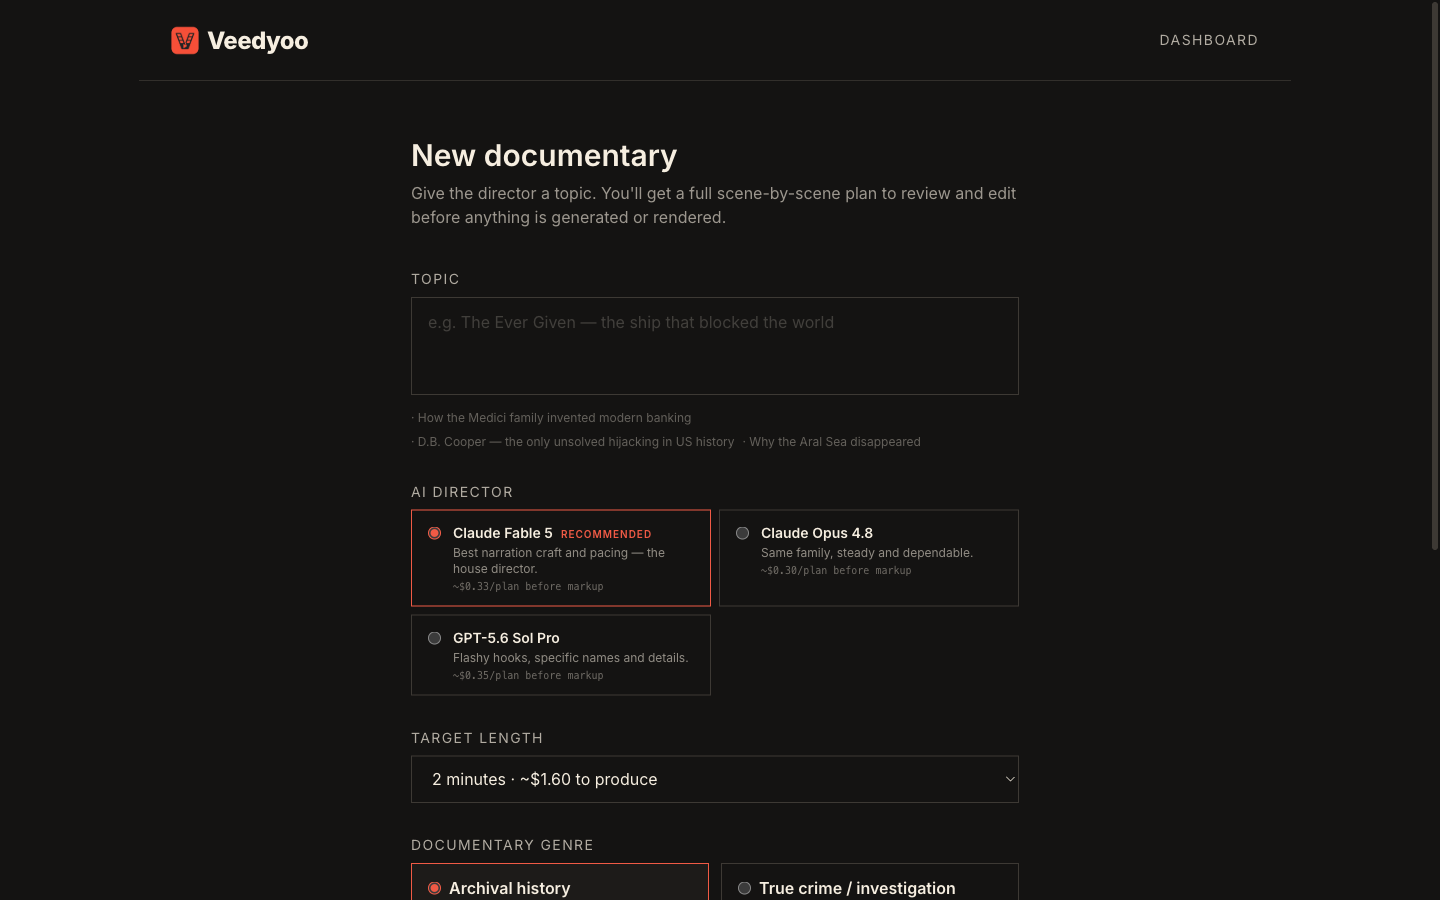
In Veedyoo, the plan review shows the proposed runtime, scenes, visual mix, and estimate before production begins. Whether you use Veedyoo or a manual toolchain, perform the same editorial check:
- Does the opening establish the real question quickly?
- Does every chapter advance the story?
- Are there enough visual changes for the pacing?
- Are maps, timelines, or data scenes used where they explain more than a decorative image?
- Does any generated scene imply that a fictional image is authentic archival evidence?
- Are the ending and final claim supported by the film?
If the structure is wrong, revise it now. Rewriting a plan is faster and usually cheaper than replacing finished narration, images, clips, and renders.
Step 6: generate and source the media scene by scene
Produce only what the approved storyboard requires. Use the right source for each job:
- Archives and documents for evidence that must be authentic.
- Maps and timelines for location, movement, chronology, and scale.
- Charts and data scenes for comparison or change over time.
- Generated illustration for concepts, reconstructions, or atmosphere that cannot be filmed directly.
- Titles and quote cards when the viewer needs to read a precise line.
Label reconstructions or illustrative imagery when viewers could mistake them for records of a real event. Generated pictures should support the explanation, not impersonate evidence.
Review every asset at full size. Look for broken lettering, impossible geometry, inconsistent people or objects, and visual details that contradict the narration. Regenerate the single weak scene instead of restarting an entire project.
Step 7: create narration, captions, and music
Choose a voice that fits the material and remains intelligible across the full runtime. Listen for mispronounced names, dates, acronyms, and place names. Correct the script or pronunciation before building the final timing around a flawed take.
Captions need their own review. Automatic timing can provide a useful first pass, but names, technical vocabulary, and punctuation still deserve inspection. Keep lines readable and synchronized with the actual words rather than the approximate scene boundaries.
Use music as structure, not wallpaper. It can establish a chapter, underline a transition, or release tension. It should not fight the narration or manufacture emotion that the evidence does not support. Check that every music track and sound effect is licensed for the intended publication.
Step 8: edit the complete story
Watch the first cut without stopping. Note where attention drops, a claim feels unsupported, or a visual arrives at the wrong moment.
The edit should answer four questions:
- Can a new viewer follow the argument without prior knowledge?
- Does each visual help explain, prove, locate, compare, or set the mood?
- Are transitions earned by the story rather than added for motion alone?
- Does the ending resolve the opening question?
In a scene-based editor, adjust the affected scene, narration, asset, or overlay while keeping the rest of the plan intact. That is useful for documentaries because a factual correction should not require rebuilding unrelated chapters.
Step 9: run a final accuracy and rights check
Before rendering, verify:
- every date, number, name, location, and attribution;
- every quote against its original source;
- every map label, chart unit, and timeline order;
- the license or permission for sourced footage, images, music, and fonts;
- the disclosure of reconstructions or synthetic media where appropriate;
- captions, credits, links, and calls to action;
- export resolution, aspect ratio, and expected runtime.
Step 10: render, review, and publish
Render the final video and watch the exported file from beginning to end. Check for missing frames, clipped captions, audio drift, unexpected silence, and transitions that behaved differently in the final output.
Keep the project, sources, script, license notes, captions, and published version together so a later factual correction can be traced to the affected scene.
When you are ready to test the workflow, Veedyoo pricing uses pay-as-you-go credits rather than a monthly subscription. Start with a focused project, inspect its estimate, and spend on production only after the plan earns your confidence.
Frequently asked questions
Can AI make a complete documentary video?
AI can assist with planning, narration, illustrations, captions, and production, while tools such as Veedyoo can connect those stages through an editable scene plan and final render. The creator still needs to choose the premise, verify claims, review media, make editorial decisions, and clear the rights for publication.
How long should a first AI documentary be?
Choose the shortest length that can support the argument without rushing it. A tightly scoped few-minute documentary is easier to research, review, and revise than a broad long-form film. Expand only when additional chapters add evidence or meaning rather than repetition.
Should I write the script or storyboard first?
Start with the premise and chapter outline, then develop narration and scenes together. A complete script written without visual planning often creates long passages that have nothing useful to show. A scene-based draft lets narration and visuals divide the explanatory work.
Can I use AI-generated images as documentary evidence?
Do not present generated images as authentic records of a real event. Use them as illustrations or reconstructions, check that they do not introduce false details, and label them when the context could confuse viewers. Use original documents, licensed archives, and sourced data when authenticity is part of the claim.
What makes an AI documentary look consistent?
Use recurring rules for typography, color, framing, movement, maps, labels, characters, and generated-image style. Store those rules with the scene plan and review the complete storyboard before production. Consistency comes from direction and continuity checks, not from repeating one prompt.
What should I review before paying to generate assets?
Confirm the runtime, chapter order, scene jobs, visual mix, factual notes, and estimated production cost. Correct structural problems first. The documentary template guide can help match the visual system to the story before production starts.
The practical goal is not to automate every creative decision. It is to keep research, story, scenes, media, and timing connected long enough to make those decisions with control.
Turn your next topic into an editable documentary
Build the plan, inspect every scene, and produce a finished film in one Veedyoo project.
Create your documentary